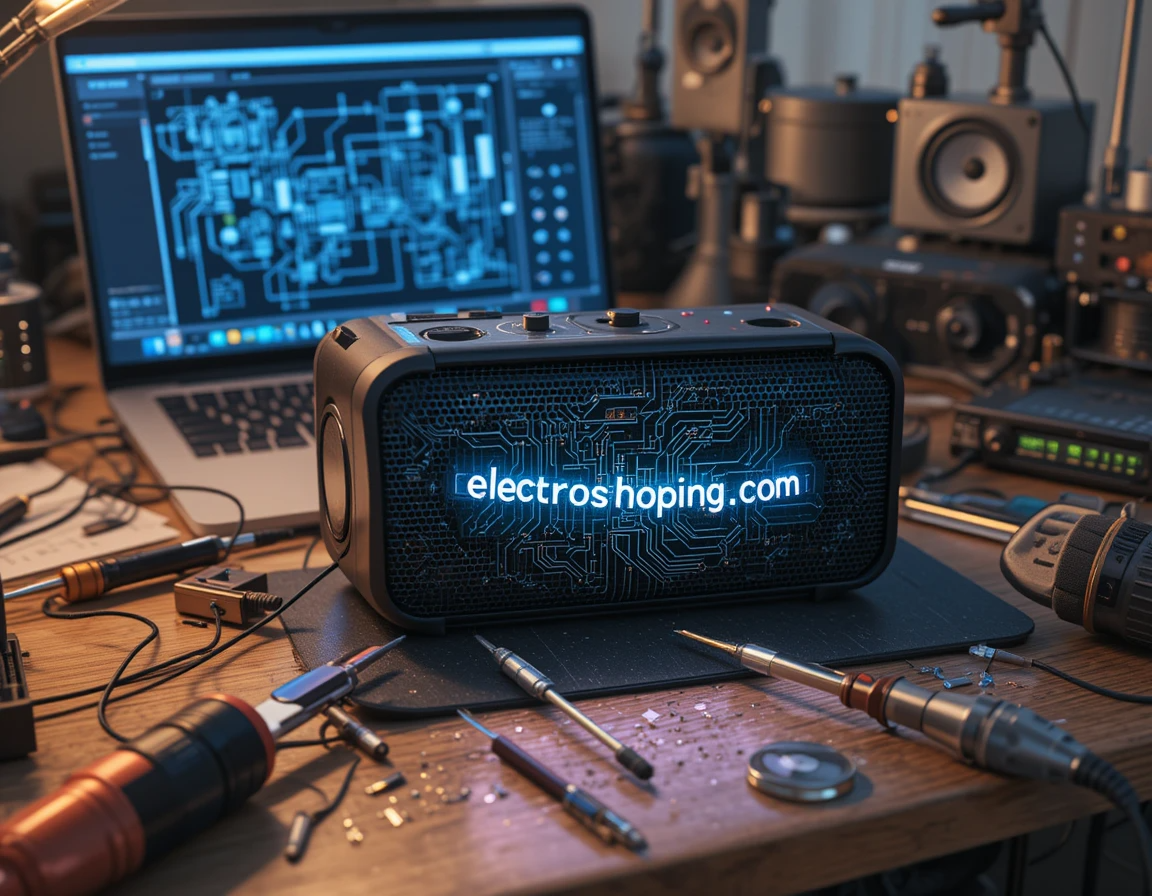
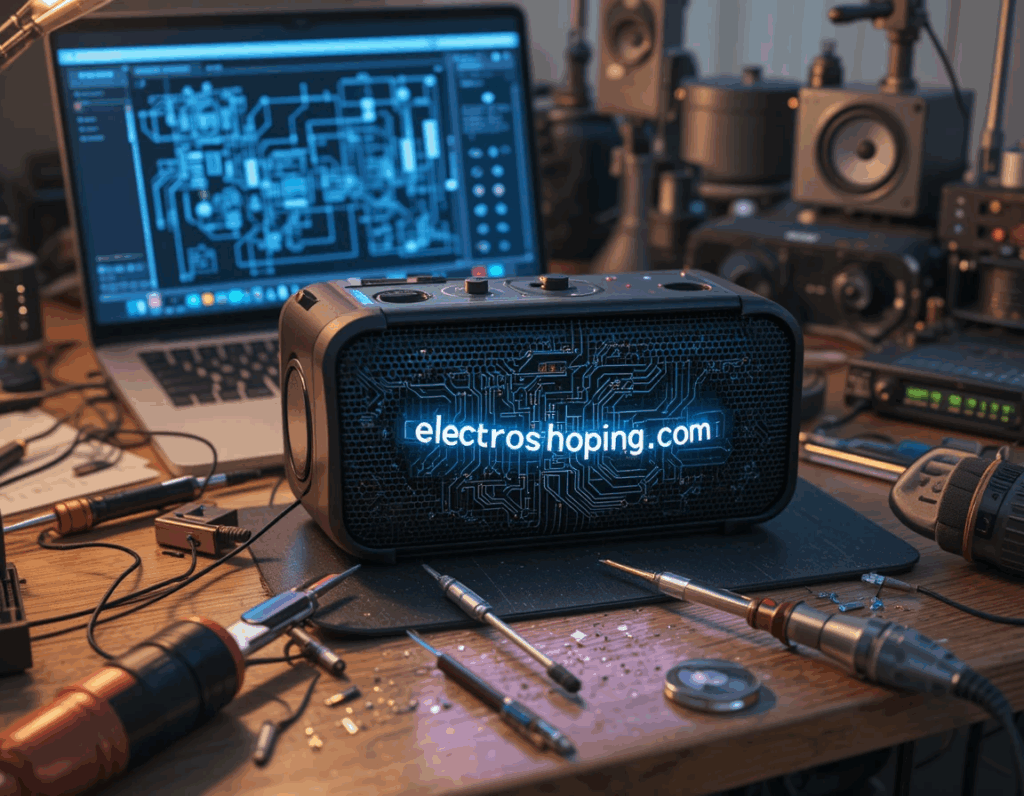
You can build a high-quality Bluetooth speaker by gathering quality components (good drivers, amplifier, Bluetooth module), designing a proper enclosure, carefully assembling the electronics, and testing/tuning the sound. This step-by-step DIY guide covers all the materials, tools, and procedures needed to build your own Bluetooth audio speaker from scratch
Building a Bluetooth speaker involves choosing the right parts and following clear instructions. In brief, first plan your design and collect materials (drivers, amplifier board, batteries, wood or other box material, soldering tools). Next, assemble the electronics (install Bluetooth audio module, amplifier, wires) and construct the speaker enclosure (cut and join wood or plastic). Finally, wire everything together, test the speaker, and make any adjustments for better sound. In the sections below, each step is explained in detail, with tips for high sound quality.
Table of Contents
- Why Build Your Own Bluetooth Speaker?
- Materials and Tools Needed for a DIY Bluetooth Speaker
- Step 1: Plan Your Speaker Design
- Choose the Right Speaker Drivers
- Select the Amplifier and Bluetooth Module
- Consider Power and Battery Options
- Step 2: Assemble the Electronics
- Step 3: Build the Speaker Enclosure
- Step 4: Install Components and Wiring
- Step 5: Test and Tune Your Speaker
- Tips for High-Quality Sound
- Conclusion
- FAQ
Why Build Your Own Bluetooth Speaker?
Building your own Bluetooth speaker is a fun project with many benefits. First, you customize the sound and design. You can choose high-quality drivers and a sturdy enclosure for better bass and clarity, unlike cheap factory-made models. Second, it’s educational: you learn about electronics, acoustics, and woodworking. Third, it can be cost-effective: by reusing parts or bulk-buying components, you can often make a speaker comparable to a store-bought one for less money. Finally, DIY builds can be portable and personal: you control the size, shape, and features (battery life, Bluetooth range, etc.).
Quick Tip: Focus on good parts. A quality speaker driver and amplifier make the biggest difference in sound Spend a bit more on these rather than cheap plastic parts.
Some may worry that speaker building is too advanced. However, with clear steps anyone with basic tools (soldering iron, saw, drill) can succeed. This guide breaks down the complex process into simple tasks. Throughout, we cite expert sources and data: for example, Texas Instruments highlights that modern wireless speakers require “premium audio output” and “low power consumption” ti.com. By following best practices, your DIY speaker can reach high-quality standards.
Materials and Tools Needed for a DIY Bluetooth Speaker
Before starting, gather everything you need. Having all parts and tools ready makes the project smoother. The essentials include:
- Speaker drivers: The core of sound. You’ll need at least one full-range driver (3–4 inches is common for DIY) or a combination (woofer + tweeter). Choose drivers with known Thiele/Small parameters for easier box design. For true high-quality sound, consider full-range high-fidelity drivers instructables.com.
- Amplifier board with Bluetooth module: These small boards include a Bluetooth receiver and amplifier. Look for a kit (e.g., a Class-D stereo amp board with 5–15W per channel) that matches your driver impedance and power needs. Popular modules support Bluetooth 5.0 for stable wireless.
- Power supply (battery or adapter): Decide if you want a battery-powered portable speaker or one that plugs in. For portable, use rechargeable Li-ion or lead-acid batteries and a charger board. Check that your amplifier board can handle battery voltage.
- Enclosure material: Commonly wood (plywood or MDF) for good acoustics. Other materials like plastic or metal are possible, but wood is easiest to work with and sounds good. The box size and type (sealed or ported) should match your driver specs.
- Enclosure hardware: Screws, wood glue, silicone sealant, speaker grills, and damping material (acoustic foam or polyfill).
- Wires and connectors: Red/black speaker wire, smaller gauge wire for power/signal, connectors for speakers and battery, switch and volume knob/potentiometer.
- Optional extras: LED indicators, carry handle, metal corners, rubber feet.
- Tools: Soldering iron and solder, wire cutters/strippers, drill (for holes, ports), jigsaw or saw (to cut wood), sandpaper, screwdriver.
Those on a tight budget can salvage parts: old speaker drivers from a stereo, phone chargers as power supplies, etc. However, mixing old and new parts can be tricky. For guaranteed quality, we recommend new components that meet specifications.
Pro Advice: Choose an amplifier board and drivers that match. If you have a 4Ω, 5W speaker, get an amp rated around 5–10W per channel at 4Ω. This avoids damage. Also, match voltage: if your amp needs 12V, use a 12V battery pack or adapter.
Internal Resource: For more on choosing audio components, see our DIY Audio Components Guide.
Step 1: Plan Your Speaker Design
Good design is crucial for a high-quality speaker. This step involves deciding your speaker type, enclosure size, and layout.
Choose the Right Speaker Drivers
Decide between a single full-range driver or a multi-way system (woofer + tweeter). Full-range drivers (often 3–4 inches) cover most frequencies alone. They simplify wiring (no crossover needed) and are great for beginners. However, they may lack deep bass. If you want rich bass, consider adding a passive radiator or port (see Step 5).
If using multiple drivers, you need a crossover to split audio frequencies (low to woofer, high to tweeter). Designing crossovers is advanced. Many DIYers avoid it for a first project. Instead, you can use one full-range driver or buy a pre-built crossover kit.
Note: Driver sensitivity is important. A high-sensitivity driver (e.g., 90+ dB at 1W/1m) means it plays louder with less power. You can look up driver specs online to compare.
For example, Soundcore explains that “subwoofer drivers [in Bluetooth speakers] can produce high volume and deep bass” soundcore.com. Even if you use a small full-range driver, adding a subwoofer or a bass port to the enclosure can improve bass response significantly.
Select the Amplifier and Bluetooth Module
Your speaker needs an amplifier board. A combined Bluetooth audio receiver + amp board is common. These can cost $10–$30 and often have stereo out. Key features to check:
- Power rating: Align this with your drivers. If using a 5W driver, get a 5W+5W amp. Avoid overpowering small drivers.
- Voltage: Many boards run on 5–24V. Choose one that matches your battery or adapter.
- Sound quality: Look for low THD (distortion) in specs. Class-D amps are efficient.
- Bluetooth version: Bluetooth 4.2 or 5.0 is fine. Latest BT ensures better range and reliability.
Place the board centrally in your box, leaving space for wiring. Ensure you have a stable mounting to avoid rattling.
Consider Power and Battery Options
Decide how you will power the speaker:
- Battery power (portable): Use rechargeable Li-ion (e.g., 18650 cells with 12V boost) or LiFePO4 for safety. You will need a battery management/charging board. Battery life depends on capacity (mAh).
- AC adapter (stationary): Use a 12V or 24V power adapter that fits your amp. This is easier but limits portability.
- Mixed: Some designs allow both battery and adapter (with a switching circuit).
Safety Tip: Lithium batteries require proper charging circuits and protection. If unsure, use a simple wall adapter to start.
Finally, sketch your design: where each driver, port (if any), switch, and panel will go on the enclosure. This helps in building the box accurately.
Step 2: Assemble the Electronics
With components in hand, start assembling the electronic parts before finalizing the box. This ensures all electronics work and fit.
- Mount the amplifier board: If you have a metal chassis or stand-offs, secure the amp/battery board. Make sure it doesn’t short against metal.
- Solder wires: Connect the Bluetooth board to the speaker terminals. Usually red = positive, black = negative. Solder power wires to the board’s input (respect correct polarity).
- Install controls: Solder the volume potentiometer to the amp’s input. Wire any LEDs or toggle switches (e.g., power switch).
- Battery pack: If using batteries, wire them in series/parallel as needed. Then connect to the amplifier’s power input. Include an on/off switch on the battery line for safety.
- Bluetooth pairing: You may not see it here, but test that the board pairs with your phone at this point. It’s easier to troubleshoot before closing the box.
Test electronics now: Power up the board and briefly test with a small speaker or multimeter. Ensure no smoke or overheating. If something is wrong (no sound, strange noise), fix it now. Once the electronics work, you can focus on the enclosure build.
Step 3: Build the Speaker Enclosure
A well-built enclosure is key to sound quality. Follow these guidelines:
- Material: Plywood or MDF (medium-density fiberboard) are best for DIY audio. They are sturdy, dense, and have good acoustic properties. Typical thickness is 12mm (1/2 inch) or thicker.
- Shape and size: The box’s internal volume depends on your driver’s Thiele/Small parameters. Many DIY builders use online calculators (WinISD, or [SpeakerBoxLite]) to size a sealed or ported box. If you’re not an audiophile, a sealed box is simplest. For example, a sealed box of around 2-4 liters often suits a small driver. A larger box gives better bass (up to a point).
- Sealed vs. ported: Sealed means airtight box – it has tight bass and is easier to build. Ported (bass reflex) means adding a tube/port – it extends bass but needs tuning. Beginners often stick to sealed, unless they enjoy extra complexity.
Build Steps:
- Cut the panels: According to your design, cut wood panels (front, back, sides, top, bottom). Sand edges smooth.
- Drill holes: On the front panel, cut holes for the speaker drivers (using a jigsaw or hole saw). Drill holes for screws that will mount the drivers. Also drill any holes for switches, LEDs, or handles.
- Assemble the box: Apply wood glue on edges and clamp panels in position. Use screws or nails for reinforcement. Check all joints are tight to prevent air leaks.
- Seal the box: After glue dries, seal inside corners with silicone or caulk. Air leaks degrade bass.
- Add damping: Place a bit of acoustic foam or polyester fiber inside to absorb standing waves and improve sound clarity (fill less than half the volume).
- Install ports (optional): If you plan a ported design, cut a round hole (port) on front/side. Then make a tube (PVC or wood) of the right length. You may need to tune it by adjusting tube length.
Why enclosure matters: A rigid box prevents unwanted vibrations and shapes the acoustic resonance. Cheap speakers often use thin plastic boxes which resonate and distort sound. A DIY wood box, built well, will deliver cleaner bass and overall better fidelity.
Internal Resource: For tips on wooden speaker enclosures, see our Woodworking for Audio guide.
Step 4: Install Components and Wiring
With the box ready and electronics tested, it’s time to put everything together:
- Mount the drivers: Place the speaker driver(s) in their holes. Secure with screws and use a gasket or foam tape to seal the gap. This prevents air leaks and rattling.
- Attach electronics: Mount the amplifier board inside the box. Many use wood standoffs or hot-glue thick plastic bases for the board. Ensure wires can reach the drivers, switches, and power.
- Wire the connections: Run speaker wires from the amplifier outputs to each driver’s terminals. Keep wires neat and soldered/screwed firmly. If you have a stereo board and two drivers, wire them to left/right channels. For a mono board, both channels can connect in parallel to a single driver (at risk of halving impedance, so check board specs first).
- Connect switches and LEDs: Wire the power switch inline with the power input. Connect any status LEDs (e.g., power light, Bluetooth pairing light) near the front.
- Grounding (if needed): If using any metal parts, make sure to ground them or isolate them to avoid noise.
Take care: Avoid short circuits. Make sure no bare wires touch metal parts of the box or the magnet of the speaker. Use heat shrink or electrical tape to insulate.
After wiring, do a final check of polarity (red to positive terminal on speaker, black to negative). Then plug in the power and pair with a phone or audio source. Play a test track at low volume to ensure all drivers work and the sound is clear. Listen for any buzzing or distortion.
If everything works, close the box by screwing on the back panel. Your Bluetooth speaker is now physically complete!
Step 5: Test and Tune Your Speaker
Testing and tuning are what separate a DIY project from a low-quality result. This step ensures your high-quality Bluetooth speaker actually sounds great.
- Initial testing: Play a variety of music (bass-heavy, vocals, high-pitched). Check for rattles in the box, loose components, or warbling. Turn up the volume gradually. If you hear distortion, reduce volume and check wiring/drivers.
- Bass tuning: If the bass is weak, you can add a port (if sealed) or increase damping (for ported). Sometimes adding a small tube port to a sealed box can boost bass (turning it into a reflex box).
- Equalization: Some amplifier boards have tone controls (bass/treble knobs). Adjust these to taste. You can also add a small passive crossover capacitor to the tweeter (if using one) to protect it from low frequencies.
- Port listen: If you made a ported box, fine-tune by ear. Longer port = more bass at low frequencies, shorter = higher bass response. Use a tuning app or measure SPL to get it right if you want precise.
Remember, high-quality sound comes from eliminating noise and distortion. Ensure all screws are tight, wires are secure, and the box is solid. You may add rubber feet on the bottom to prevent floor vibrations.
Expert Insight: According to TI, modern speaker design values “longer battery playtime” along with sound qualityti.com. If battery life is important, use power-efficient settings (e.g., auto-sleep in the Bluetooth module if idle).
Tips for High-Quality Sound
- Speaker grills and protection: If you plan to move the speaker around, install a grill or cover to protect the driver cone. Fine metal mesh or foam screens work well.
- Heat management: Amplifier boards can get warm. Ensure some airflow or heat sinking, especially if you enclosed them tightly.
- Check impedance: If adding multiple drivers, the total impedance matters. For instance, two 8Ω speakers in parallel = 4Ω load. Make sure your amp supports it.
- Cable quality: Use decent gauge wire for speaker connections. Thin wires can reduce sound quality or power.
- Crossover quality: If using crossovers, use components rated for audio (film capacitors, inductors) rather than cut-up cheap ones. This keeps the sound clear.
- Enclosure finish: Beyond sound, a smooth finish (paint or veneer) on the box can prevent wood from absorbing moisture and will look professional.
- Room placement: Once done, place your speaker on a stable surface. Low bass can improve if the box is near a wall or corner (room acoustics matter).
By following all these steps carefully, your DIY speaker can rival store-bought units. Your hands-on experience and custom choices will make it uniquely yours, and you’ll have learned valuable skills in the process.
Quality Note: Remember that components from reputable sources (audio-specialized suppliers) are likely to give better performance than generic parts from unknown sellers. If possible, buy drivers and amps from trusted brands or well-reviewed hobbyist stores.
Conclusion
Building a high-quality Bluetooth speaker is an achievable DIY project that yields great rewards. In summary, the process is:
- Plan and design: Decide on drivers, amplifier, power, and enclosure type.
- Gather parts and tools: Prepare drivers, Bluetooth amp board, batteries or adapter, wood, and assembly tools.
- Assemble electronics: Solder wires, test the Bluetooth module, mount controls.
- Build the enclosure: Cut and assemble a solid wooden box, install ports or damping as needed.
- Install and wire everything: Secure drivers, attach amplifier, wire up power and audio paths.
- Test, tune, and enjoy: Play music, tweak for best sound, add finishing touches.
By taking it step-by-step, you ensure each part works and the final speaker has excellent audio. The steps above cover everything from basic safety to advanced tuning, focusing on real sound quality, not just a working amplifier.
Best Materials for Building a Durable Bluetooth Speaker Read More –>

One thought on “How to Build a High-Quality Bluetooth Speaker: A Step-by-Step DIY Guide”